M7S - Stoneringers 2
This is the last mechanic, so you're almost home stretch. Remember, progging this fight is easy, but actually clearing requires consistency and being able to output the required DPS. So don't be surprised if you end up enraging at the end, which is a sign that work still needs to be done in cleaning up.
Stoneringer 2: Stoneringers + Strange Seeds
The Abombinator jumps back to the middle and casts Stoneringer 2: Stoneringers to summon his favorite dual wield loadout again. Similarly to the first Stoneringers 1, the attacks are fully scripted except on whether he chooses to use club or sword first. However, the big difference here is that this attack is now combined with Strange Seeds, which targets either all support or all DPS with an AoE that explodes in a star afterwards. This change alone makes this mechanic way harder than its first iteration, so do not let your guard down!
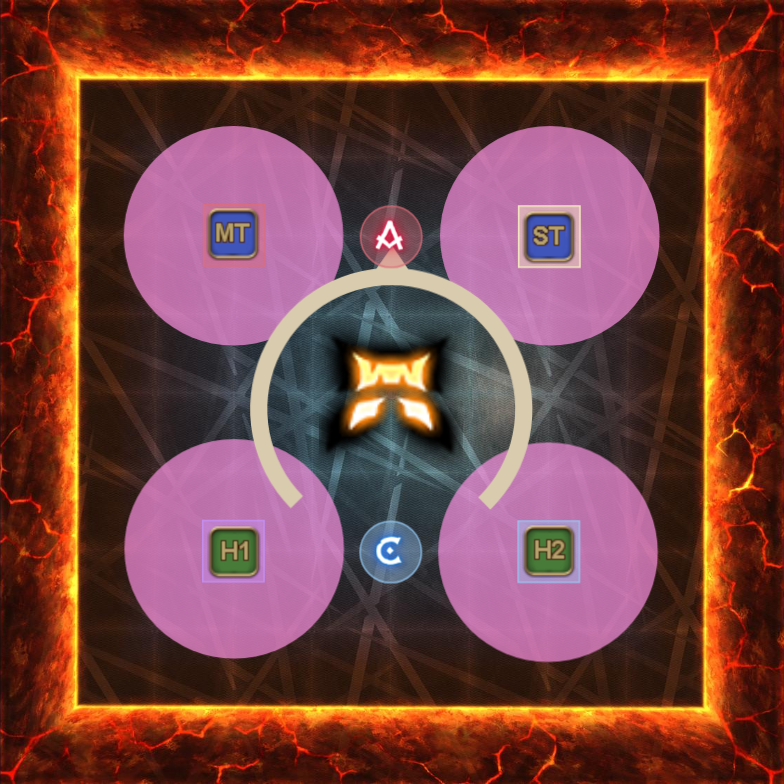
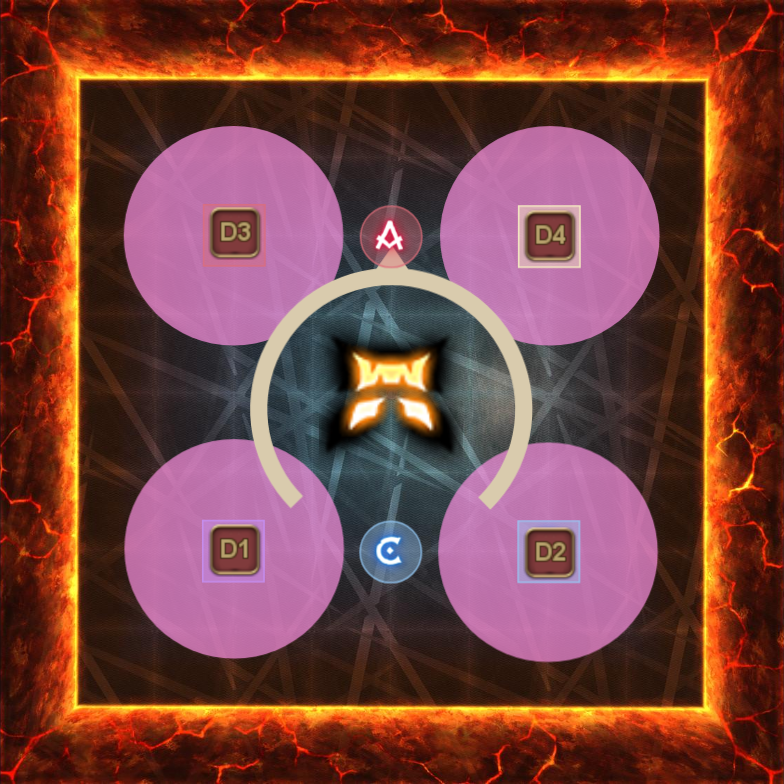
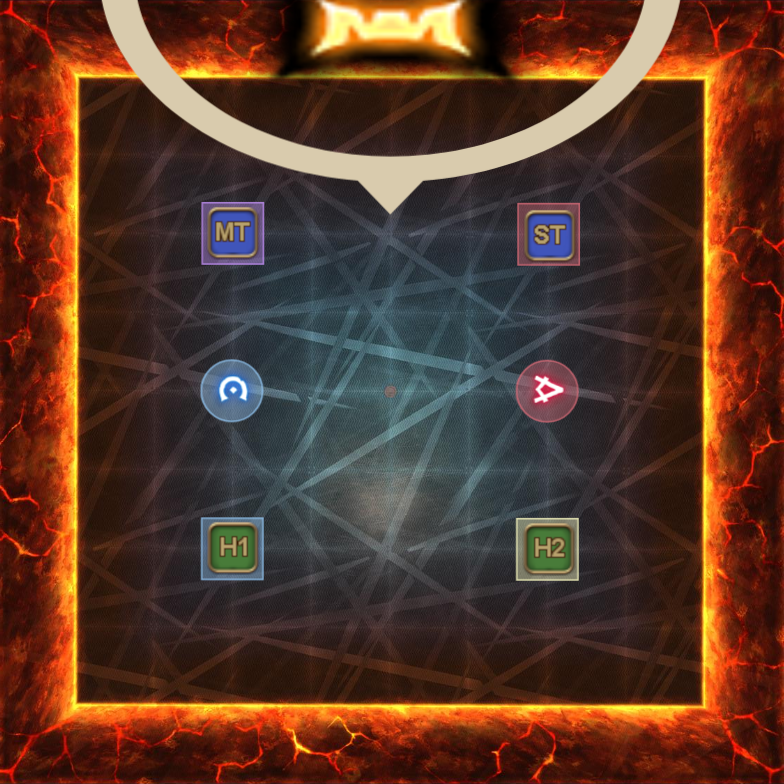
Identify immediately whether you have the AoE or not once Strange Seeds is cast. If you have the AoE, then immediately go to your designated intercardinal waymark to drop the AoE. For reference, the first set is true north!
| Support first | DPS first |
|---|---|
 |  |
The Abombinator will soon turn to one of the walls and prepare his Brutish Swing, so identify which of the weapon is glowing and react accordingly. If you are the first set and the first swing is a sword, then pop sprint or chances are, you will not make it safely inside the donut. Dodge the Lashing Lariat afterwards.
| Sword first | Club first |
|---|---|
 |  |
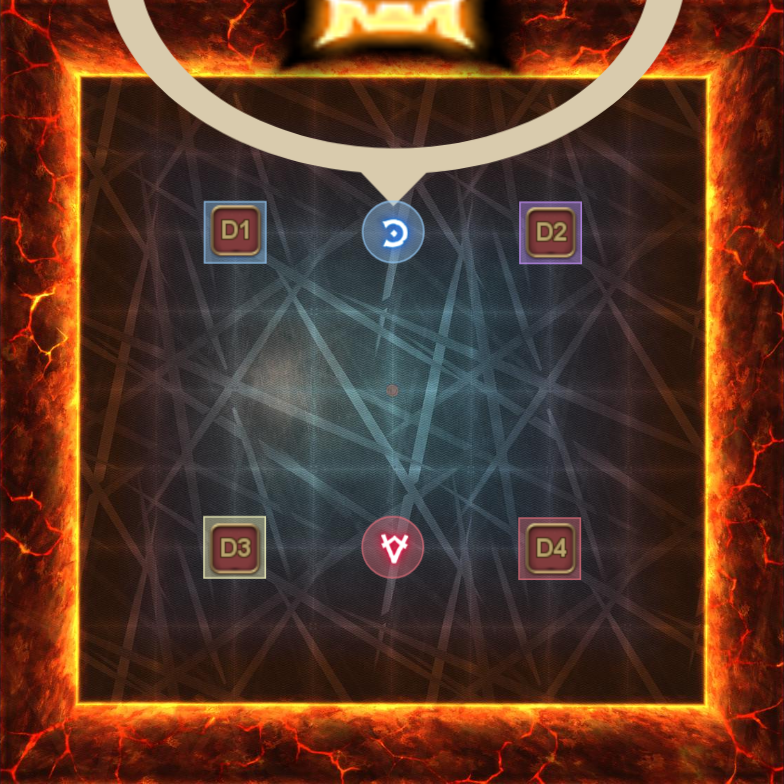
Right before the Lashing Lariat goes off, the other role group will now be targeted with an AoE which they need to drop off. Unlike the first set, this one is done boss relative after the Lashing Lariat!
If you are the 2nd set of AoE droppers, then pop sprint once you dodge the lariat, as that will cover both your star AoE placement and the incoming Brutish Swing that you will have to deal with. Your sprint will last up to Brutish Swing if you use it right after the lariat, so make good use of it, especially if you're dealing with a sword pattern as a ranged player.
| Support second | DPS second |
|---|---|
 |  |
After the Brutish Swing, the boss will jump to the center with a Slaminator. Whoever didn't use their invuln on the first Slaminator back in Stoneringers 1 should now use it to cheese this stack.
As a reminder, this mechanic is very fast paced and unforgiving. Your reaction, timing and the usage of sprint needs to be on point if you don't want to either get a purple crown or end up on the floor. Below are some examples you can use as reference to properly deal with this mechanic:
| Example 1 Support first, sword > club  | Example 2 DPS first, club > sword  | Example 3 Support first, club > sword  |
|---|---|---|
Special Bombarian Special
Upon resolving Slaminator, you will first get to see a Stoneringer which is then followed by a Smash Here or Smash There. After the tankbuster, the boss will wrap things up with a Brutal Impact. Assuming you've potted early in P3 and delayed your burst during Debris Deathmatch, your final burst will be here when the boss is doing a raidwide by happily smashing the floor.
Make sure to LB3 after your burst if you haven't done so yet, because this is your final chance to kill the boss. If the boss is still alive after the raidwide, then he will now slowly cast Special Bombarian Special, which will wipe your party with a spectacular bodyslam on the floor.