M7S - Stoneringers 1
You're now in phase 3 of the fight, which is fast paced and chaotic all over again. You will likely face attacks you've seen before, whether it is from normal mode or from the previous phases, but not to worry, the Abombinator will try to keep things interesting. But first thing first, the Brutal Impact is back, so heal up and mitigate this attack.
Stoneringer 2: Stoneringers
Once you've dealt with the raidwide, the boss will jump to the center of the arena and cast Stoneringer 2: Stoneringers, which summons both the sword and club in his hands. Just like in normal mode, one of the weapons will glow while the boss is casting Brutish Swing. Aside from whether he does donut or chariot first, the sequence of this mechanic is completely static:
- After his first Brutish Swing, he will fire off an untelegraphed Revenge of the Vines. Make sure that everyone is mitigated before the boss gets his swing off, because this raidwide comes with no warning.
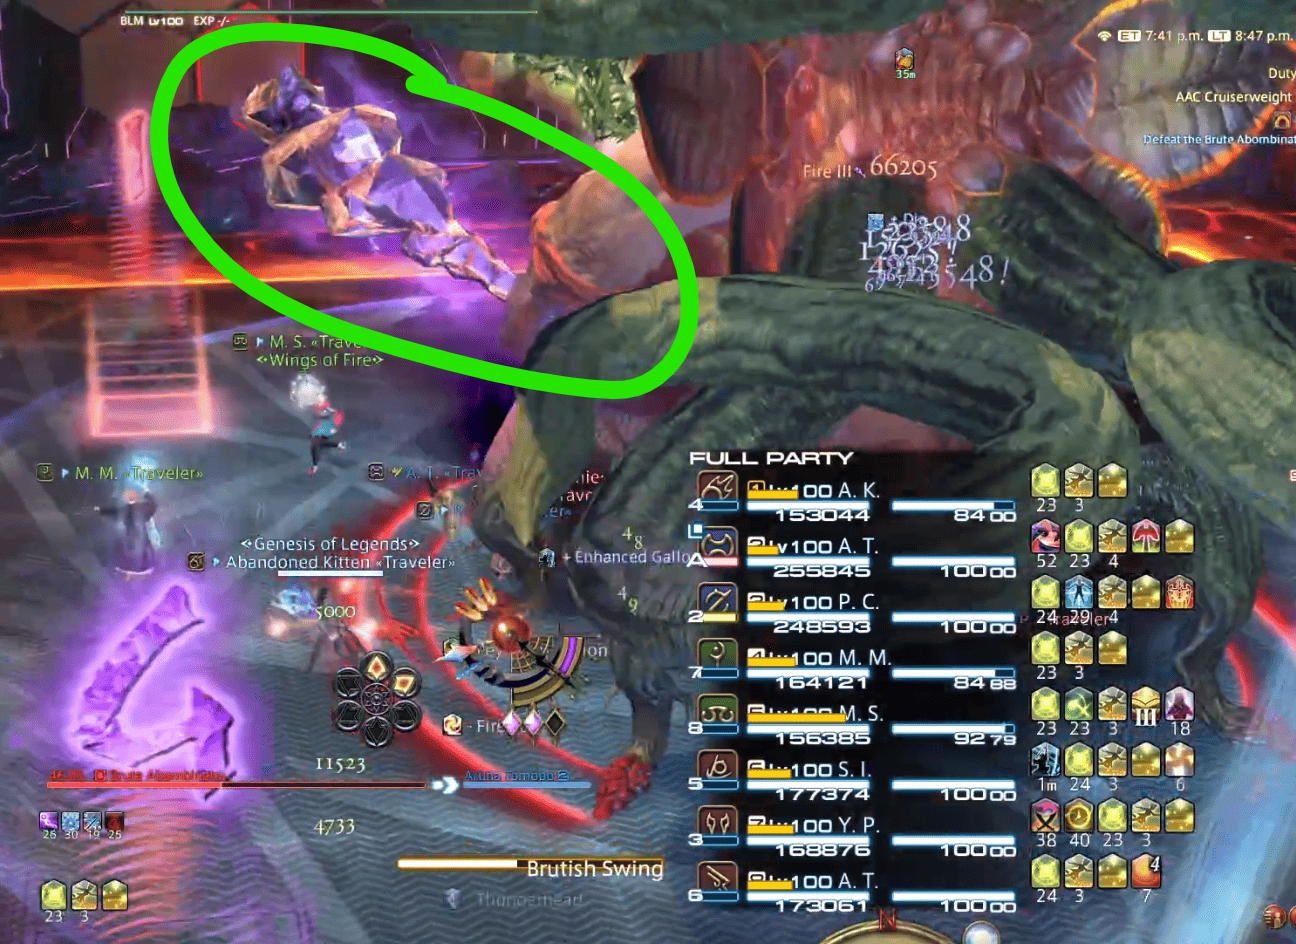
- A Lashing Lariat follows, which cleaves one half of the room. This is actually very easy to dodge, even before you see the actual lariat being cast, because the boss always uses the same hand he used for Brutish Swing to perform his Lashing Lariat.
- The boss will now do his 2nd Brutish Swing, which is the weapon he didn't use for his first swing.
- After the 2nd Brutish Swing, he will follow this up with Glower Power, forcing the party to immediately spread out.
- Finally, the boss will use Slaminator, which is a stack in the center, to wrap this sequence of mechanics up. This is cheesed by having a tank soak the stack alone with invulnerability.
As a reminder, a PLD cannot invuln the first Slaminator if he/she used his invuln during the first phase. There are two Slaminator in this fight, so communicate with your cotank on who is invulning which one.
Lashing Lariat
There's multiple ways to determine which side of the room the boss is cleaving when he is going to do his Lashing Lariat, but by far the earliest tell is when he is about to do his first Brutish Swing. The boss will always face the wall that he intends to jump for his first swing, so identify whether his left or right weapon is glowing, and go to that side!
The reason why this works, is because when the boss jumps on a wall, he will do a 180-spin to face towards you. With the boss's position inverted, it will never cleave your side as long as you always preemptively dodge towards the side of which the weapon is glowing. Alternatively, you can always look at how the boss swings his weapon or the glowy aura from his arm to determine which side he is cleaving.
Glower Power
The lineup for the spread is the usual, but feel free to compact it a bit more into squares, which is shown in the diagram below.
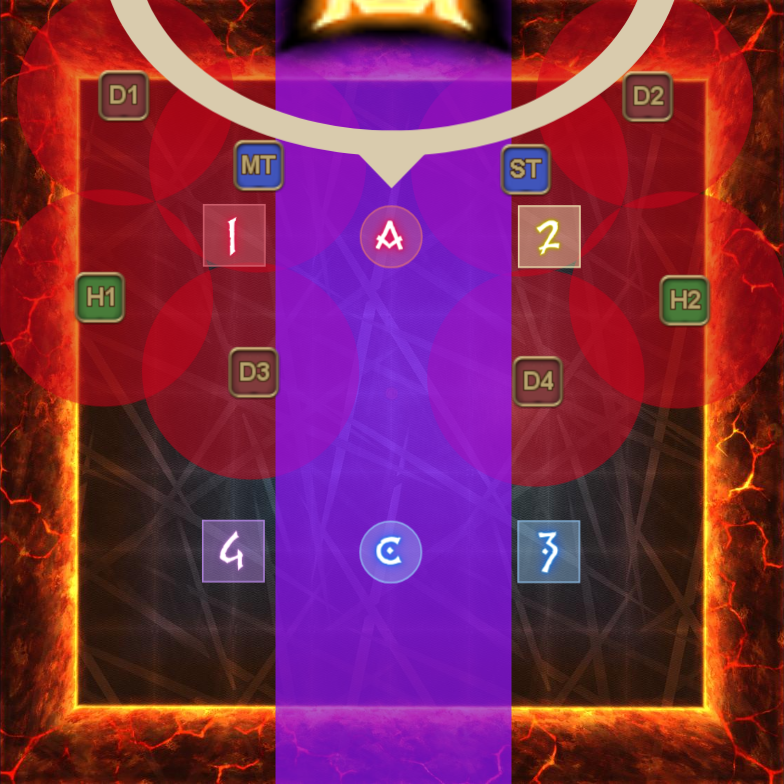
Overally, this is not a hard mechanic because everything you see is something you've already seen before in normal mode. The Glower Power spread is slightly harder if the attack before it was a donut, but its not something that you haven't dealt with before throughout this fight.
Example 1 | Example 2 | Example 3 |
|---|---|---|