M10S - Sickest Take-off
Once Red Hot finishes all his attacks, he will disappear from the stage and you will get Deep Blue's tutorial next. The aggro is maintained between the two bosses, so the MT does not need to re-provoke to re-establish the aggro.
Sick Swell and Sickest Take-off
The first recurring mechanic you will see often is Sick Swell and Sickest Take-off. Sick Swell will create a giant tsunami from one side, and this cast is then followed up with Sickest Take-off in which Deep Blue will surf on top of the tsunami he created.
The big difference here in the savage version of this fight, is that Deep Blue will either have 8 small balls or two giant balls while riding down the wave, which means either a full party spread or a light party stack.
Identify where Deep Blue is and avoid his lane. Using the direction of the tsunami as the new north, you can utilize the remaining space that is safe by assigning the MT group to take the left side and the ST group to take the right side.
| Stack | Spread |
|---|---|
 |  |
You can anti-knockback the tsunami with Arm's Length and Surecast, but any non-WAR MT is recommended to save theirs since they will need it soon for a different attack.
Alley-oop Double-dip and Reverse Alley-oop
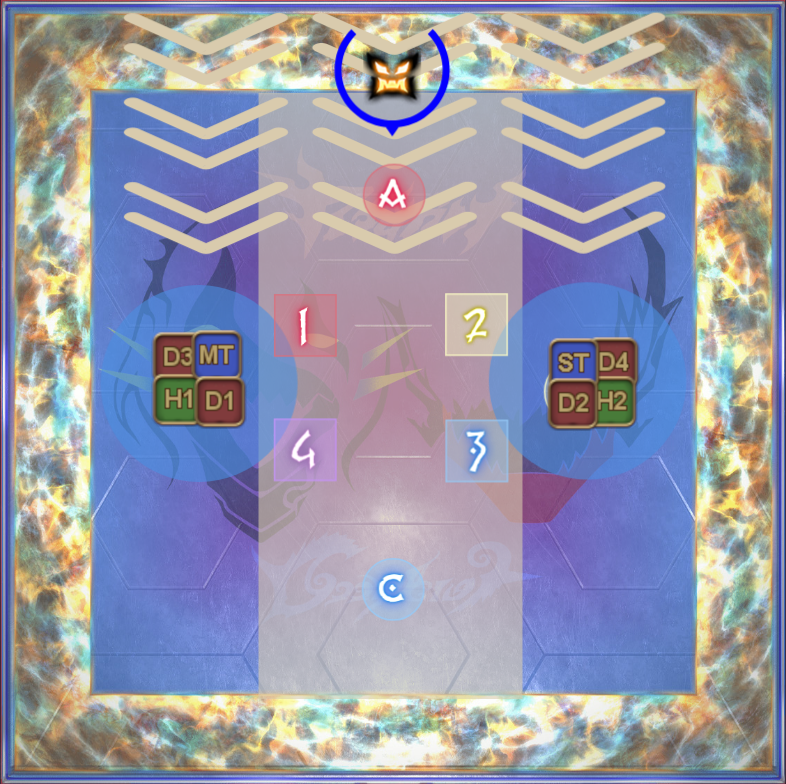
After resolving your stack/spread, immediately advance towards Deep Blue because he is about to use his next attack, which is randomly either Alley-oop Double-dip or Reverse Alley-oop. At its core, both of these attacks will shoot a protean at each player from the boss, which means the party must spread around in a clockspot around the boss.
For reference, the clockspot is done using boss relative, which means whichever direction the boss is facing will become north.
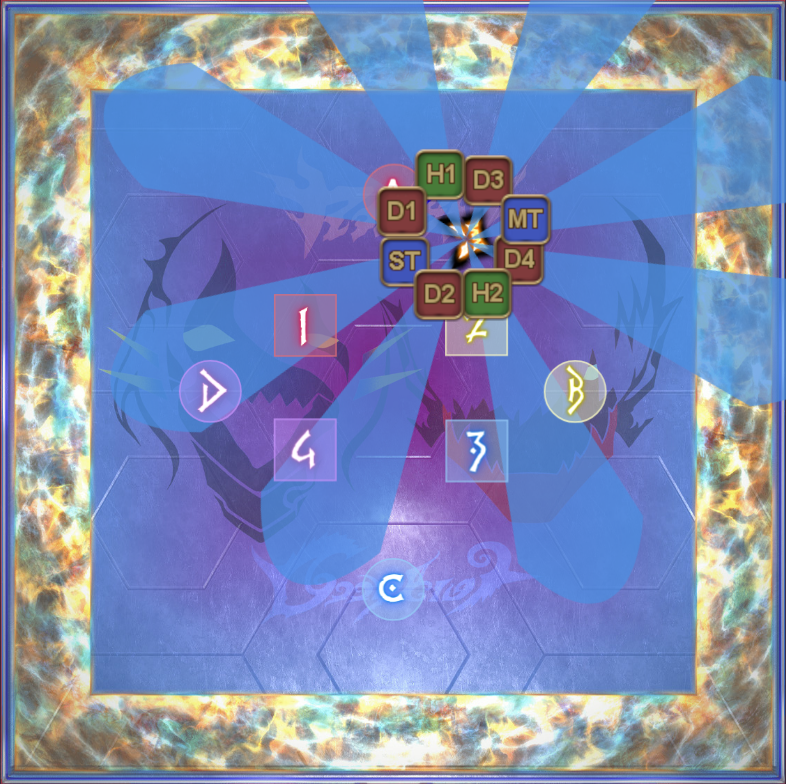
Now, your next action will be determined by whether its double-dip or reverse. If its double-dip, then the protean fire will be repeated at the last baited location, which the players need to dodge. If however its reverse instead, then the players can dodge the next attack by staying where they are, because the next set of protean fire will be inversed.
| Alley-oop Double-dip | Reverse Alley-oop |
|---|---|
Deep Impact
The last recurring mechanic that you will see from Deep Blue is Deep Impact, which he will demonstrate right now. Deep Impact is a tankbuster that targest the farthest player from the boss. This tankbuster also has a nasty property, which is a knockback to whoever gets hit by this tankbuster.
This is why as MT, you were recommended to save your anti-knockback here, because without it, you will very likely get sent into the wall even though you have pressed your mitigations. If you happen to be a WAR MT, then this tankbuster aligns with your 1-minute, which means you naturally have an anti-knockback at this point by simply pressing your buttons.
Have everyone stand behind the boss, inside the circle, while the MT stays at max melee range. This tankbuster happens during a 2-minute burst, so chances are, there's a caster with a ley line loitering in front of you.
As tempting as it is to kill your caster, killing them is a DPS loss, so try to adjust when that happens. And as the caster, try to retreat to the back as much as you can in order to make the tank's job easier.
Once the tankbuster is resolved, Deep Blue will end this tutorial phase with Divers' Dare.