P12S - Athena Intro (Phase 2)
This is the second phase of P12S. For phase one, head back to part 1 of this fight.
The strategies used for each datacenter are as follows:
- Aether uses pastebin.
- Aether uses the updated version of Papan strategy for Caloric Theory 1.
- Aether uses 0+2 for Pangenesis, which refers to the players with no debuff moving up in the line up and taking the first tower.
- Mana follows Nukemaru.
- Mana uses Mochibe for Caloric Theory 1, which is explained in Nukemaru's video.
- Mana uses 1 up 0 down for Pangenesis, which refers to the player with the 1 stack moving up in the line up line and taking the first tower.
- Mana parties do not line up for Pangenesis by default, but they are aware that it is a thing.
- Elemental uses the same strategy as Mana, but with a few differences in the strategies:
- Elemental uses the original version of Papan strategy for Caloric Theory 1.
- Elemental parties always line up for Pangenesis by default.
General notes:
- All major mechanics are raidwides by itself upon cast and are fatal to the party when not properly mitigated.
- Only WAR can invuln both Palladian Grasp, which is the tentacle tankbuster.
- If the party doesn't have a WAR, then the tanks needs to decide amongst themselves which Palladion Grasp they want to use invulnerability on.
- In Elemental and Mana, the ST invulns the first Palladion Grasp by default in parties with no WAR.
- Check whether the PF mentions KX or XX, which refers to the Palladian Ray spreads during The Classical Concepts.
Major mechanics
- Gaiaochos 1 (UAV 1)
- The Classical Concepts 1
- Caloric Theory 1
- Pangenesis
- The Classical Concepts 2
- Caloric Theory 2
- Gaiaochos 2 (UAV 2)
Setup
- Elemental
- Mana
- Aether
Waymark
{"Name":"P12S-2 (Papan)","MapID":943,"A":{"X":100.0,"Y":0.0,"Z":89.0,"ID":0,"Active":true},"B":{"X":104.0,"Y":0.0,"Z":93.0,"ID":1,"Active":true},"C":{"X":100.0,"Y":0.0,"Z":97.0,"ID":2,"Active":true},"D":{"X":96.0,"Y":0.0,"Z":93.0,"ID":3,"Active":true},"One":{"X":99.0,"Y":0.0,"Z":81.0,"ID":6,"Active":true},"Two":{"X":113.0,"Y":0.0,"Z":93.0,"ID":5,"Active":true},"Three":{"X":119.0,"Y":0.0,"Z":91.0,"ID":7,"Active":true},"Four":{"X":87.0,"Y":0.0,"Z":93.0,"ID":4,"Active":true}}

Waymark
{"Name":"P12S-2 (Mochibe)","MapID":943,"A":{"X":97.67,"Y":0.0,"Z":92.67,"ID":0,"Active":true},"B":{"X":102.33,"Y":0.0,"Z":92.67,"ID":1,"Active":true},"C":{"X":102.33,"Y":0.0,"Z":97.33,"ID":2,"Active":true},"D":{"X":97.67,"Y":0.0,"Z":97.33,"ID":3,"Active":true},"One":{"X":99.0,"Y":0.0,"Z":81.0,"ID":4,"Active":true},"Two":{"X":119.0,"Y":0.0,"Z":91.0,"ID":5,"Active":true},"Three":{"X":105.67,"Y":0.0,"Z":101.0,"ID":6,"Active":true},"Four":{"X":94.33,"Y":0.0,"Z":101.0,"ID":7,"Active":true}}

Waymark
{"Name":"P12S-2","MapID":943,"A":{"X":100.0,"Y":0.0,"Z":89.0,"ID":0,"Active":true},"B":{"X":104.0,"Y":0.0,"Z":93.0,"ID":1,"Active":true},"C":{"X":100.0,"Y":0.0,"Z":97.0,"ID":2,"Active":true},"D":{"X":96.0,"Y":0.0,"Z":93.0,"ID":3,"Active":true},"One":{"X":87.0,"Y":0.0,"Z":93.0,"ID":4,"Active":true},"Two":{"X":113.0,"Y":0.0,"Z":93.0,"ID":5,"Active":true},"Three":{"X":92.0,"Y":0.0,"Z":92.0,"ID":6,"Active":true},"Four":{"X":108.0,"Y":0.0,"Z":92.0,"ID":7,"Active":true}}

Demi Parhelion and Ekpyrosis spread positions
| Donut spread | Vertical spread West & East Exaflare | Horizontal spread North & South Exaflare |
|---|---|---|
        | | |
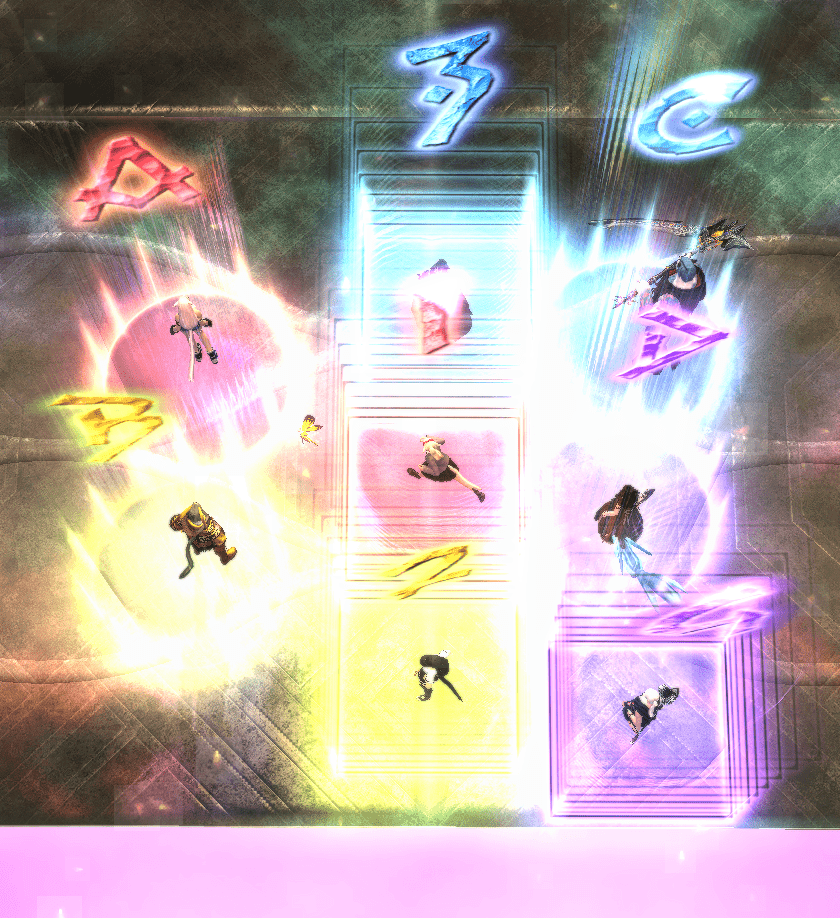
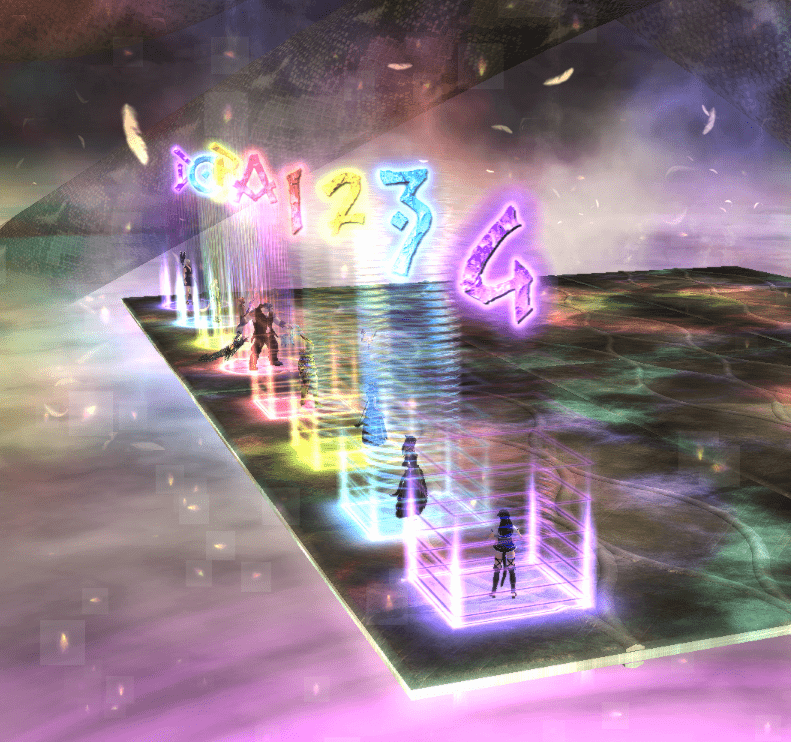
Pangenesis line up
As a general rule, the tank who will use his invulnerability for the tentacle after Pangenesis should always be placed all the way to the right. All the other positions are free for all.
Caloric Theory 2 positions
The positions for caloric 2 is fixed, but feel free to pick a different spot if your party agrees to it.