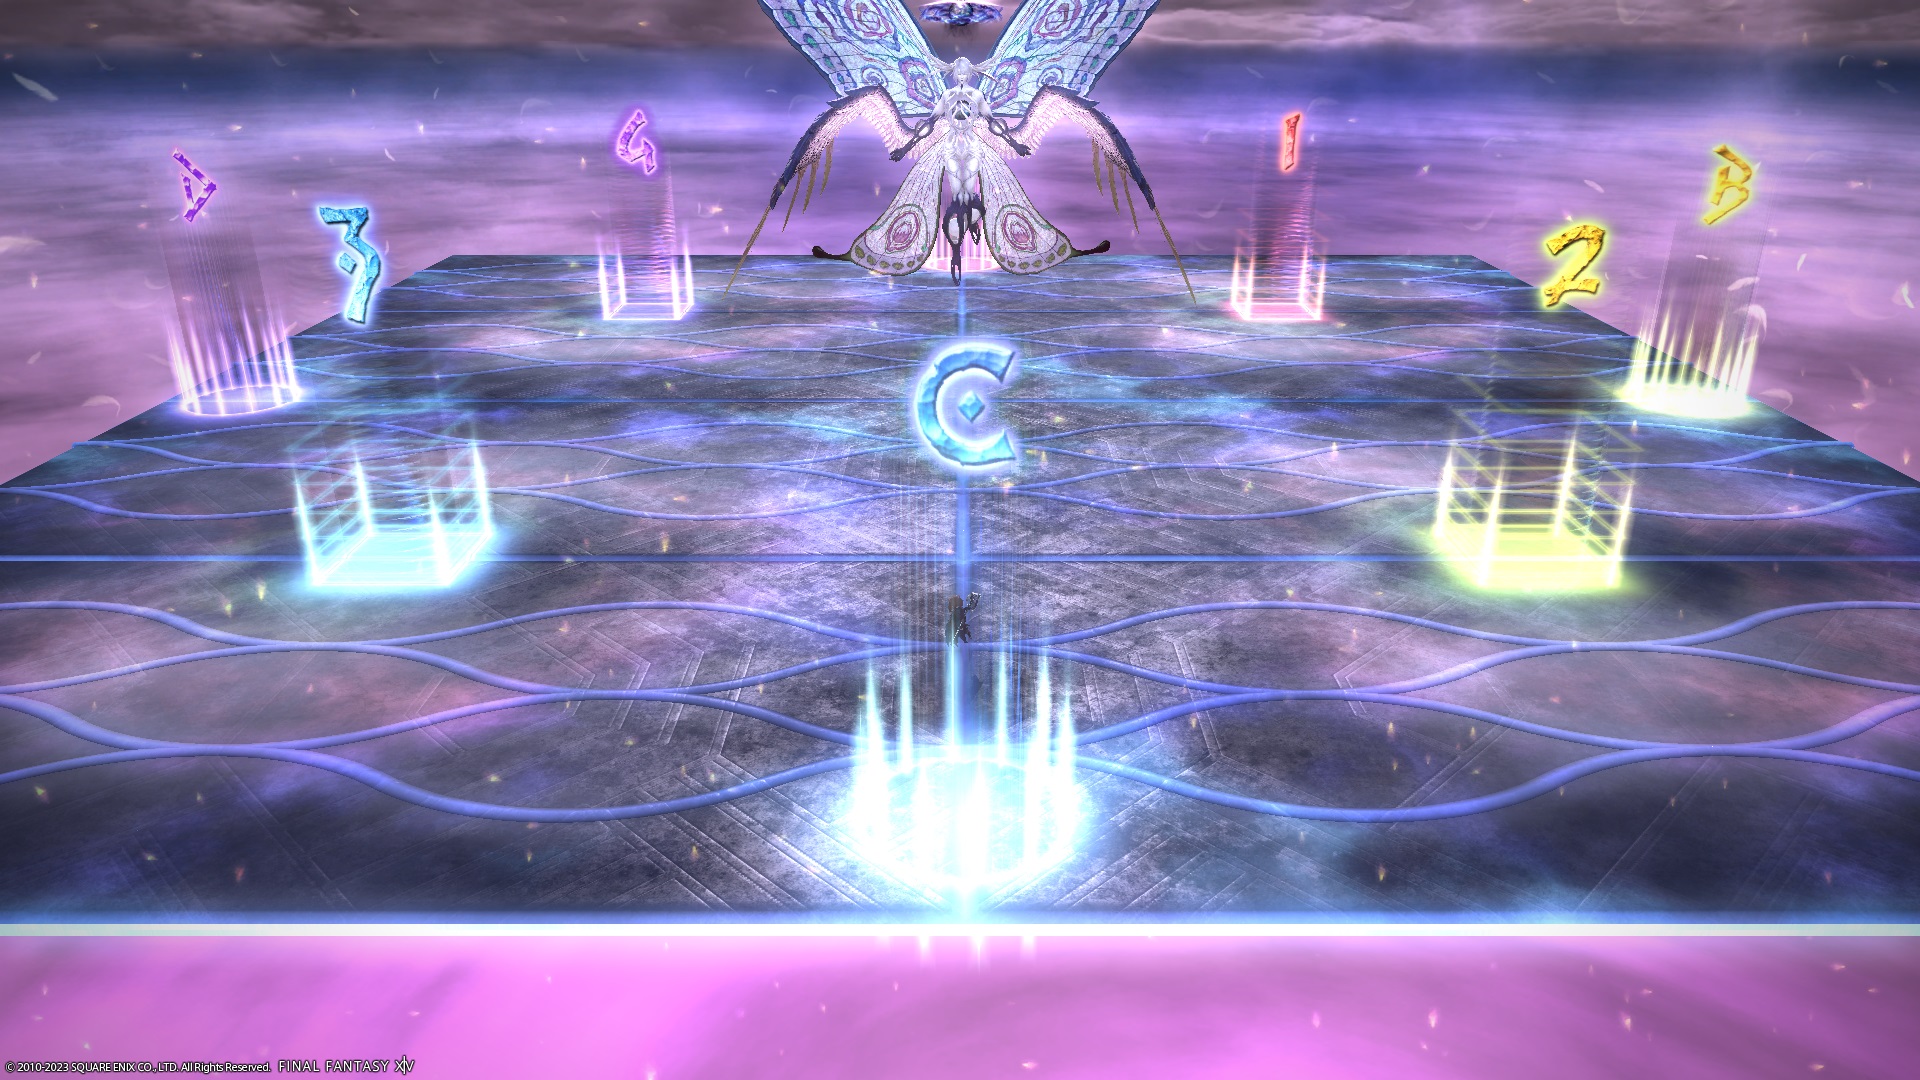
P12S - Athena Intro (Phase 1)
P12S consists of two phases. For phase two, check out part 2 of this fight.
The strategy is mostly the same across all datacenters:
- Aether uses pastebin.
- Aether has DPS go CCW and support go CW in Paradeigma 2.
- Tanks need to flex for the healers in Paradeigma 3 if they both get the tower debuff.
- DPS positions are fixed depending on how your tethers are stretched.
- Elemental and Mana follows Nukemaru.
- JP has support go CCW and DPS go CW in Paradeigma 2.
- Supports with towers and DPS all respect a priority system in Paradeigma 3 to decide who soaks which tower.
General notes:
- This raid introduces the use of Umbral and Astral elements, which are the light and dark elements.
- Taking an Umbral/Astral attack will inflict an elemental debuff on the player.
- This debuff is used to resolve mechanics of the opposite element, like towers and stack lasers.
- Taking another attack of the same element is fatal and will likely not resolve the mechanic properly.
- Players cannot soak towers of the same element.
- Keep this concept in mind, as these elements will make a return in part 2 of this fight.
- Taking an Umbral/Astral attack will inflict an elemental debuff on the player.
Major mechanics
- Paradeigma 1
- Paradeigma 2
- Superchain Theory I
- Paradeigma 3
- Palladion (Limit Cut)
- Superchain Theory IIA
- Superchain Theory IIB
Setup
- Elemental
- Mana
- Aether
Waymark
{"Name":"P12S-1","MapID":943,"A":{"X":100.0,"Y":0.0,"Z":82.0,"ID":0,"Active":true},"B":{"X":118.0,"Y":0.0,"Z":100.0,"ID":1,"Active":true},"C":{"X":100.0,"Y":0.0,"Z":118.0,"ID":2,"Active":true},"D":{"X":82.0,"Y":0.0,"Z":100.0,"ID":3,"Active":true},"One":{"X":110.0,"Y":0.0,"Z":90.0,"ID":4,"Active":true},"Two":{"X":110.0,"Y":0.0,"Z":110.0,"ID":5,"Active":true},"Three":{"X":90.0,"Y":0.0,"Z":110.0,"ID":6,"Active":true},"Four":{"X":90.0,"Y":0.0,"Z":90.0,"ID":7,"Active":true}}
