M2S - Alarm Pheromones 2
Upon exiting the live stage again, the boss will immediately cast Splash of Venom or Drop of Venom, the stored attack that we all like from this boss. After that, the boss uses Alarm Pheromones to summon her horde of small bees again to attack you.
Alarm Pheromones
The bees will attack in groups of four and dash in lines, creating a square safe zone in the center and at the outer edges of the arena. At the same time, the boss herself will cast Poison Sting, which will target one random support and one random DPS with a targeted AoE that leaves a lingering poison puddle behind. Standing in this poison puddle for too long means death, so the goal of this mechanic is to take turns and drop off the deadly puddle at the outer edges in order to preserve the middle safe spot. Needless to say, this version of Alarm Pheromones is a lot easier than the chaotic mess that is Alarm Pheromones 1.
| Loosely spread in the center and identify who the first targeted support and DPS are. The players who now have a red arrow above their head needs to run out now to an outside safe spot. The support player drops their first puddle either north or west, while the DPS drops theirs at south or east. After dropping the puddle, rejoin the party at the center. Keep in mind that Poison Sting will never target the same player again. Pay attention to where the first puddle is dropped, because this is now your reference point for everyone else to follow! |  |
| The next group of four bees will now attack, creating the same safe spots that shifts either slightly CW or CCW. The second player getting targeted should now use the puddle outside as a reference point. In this example, the safe spot shifted CW. One easy way of checking whether the safe spots spins CW or CCW is by identifying whether the 2nd bees spawns CW or CCW of the 1st bee that is about to charge. Is the 2nd bee CW of the 1st bee? Then the safespot will also be shifting CW! 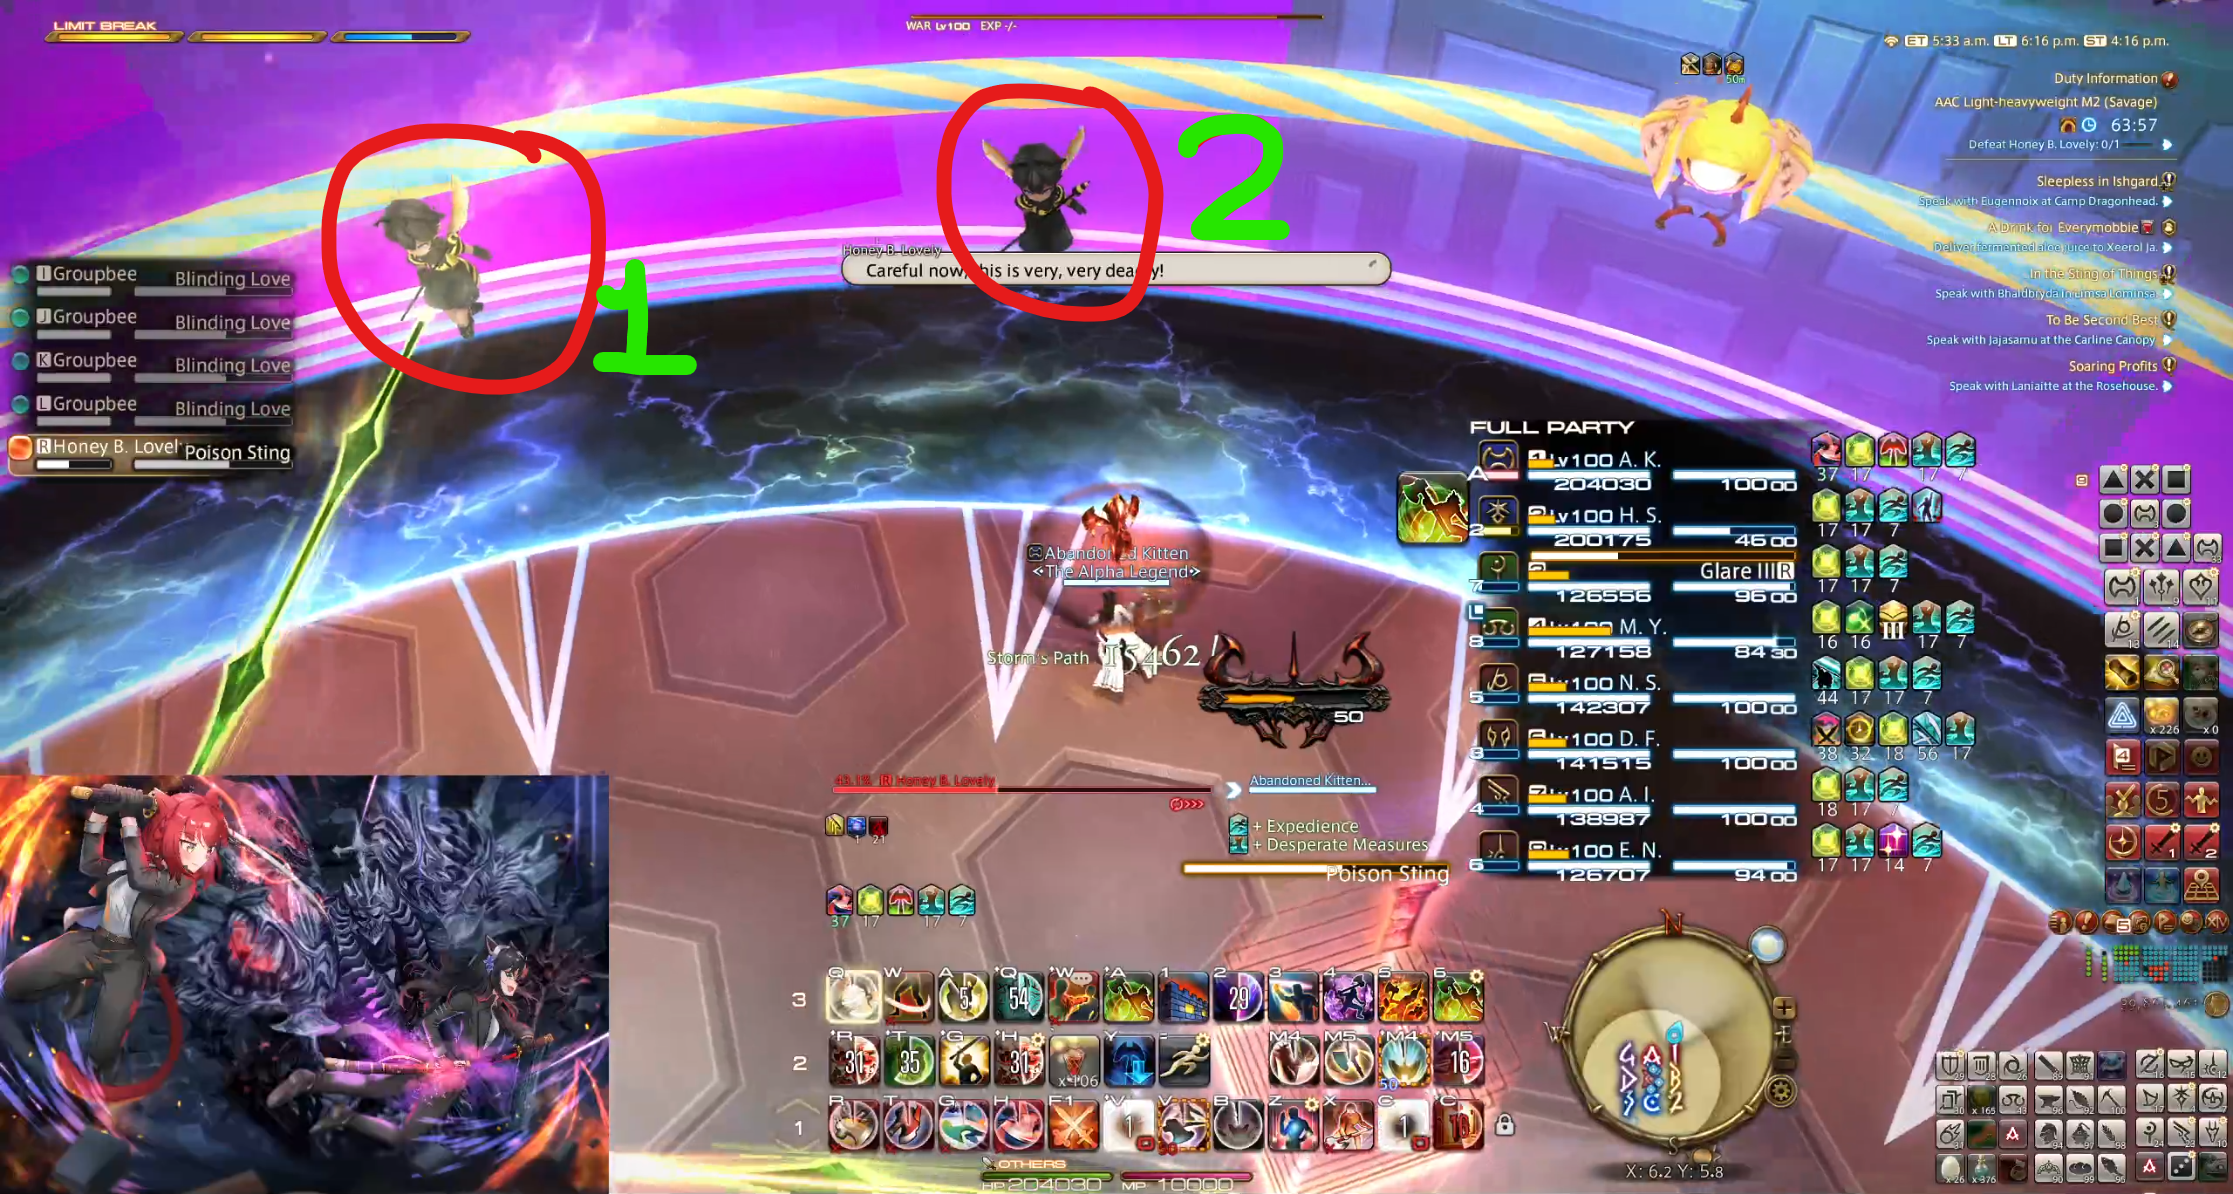 | 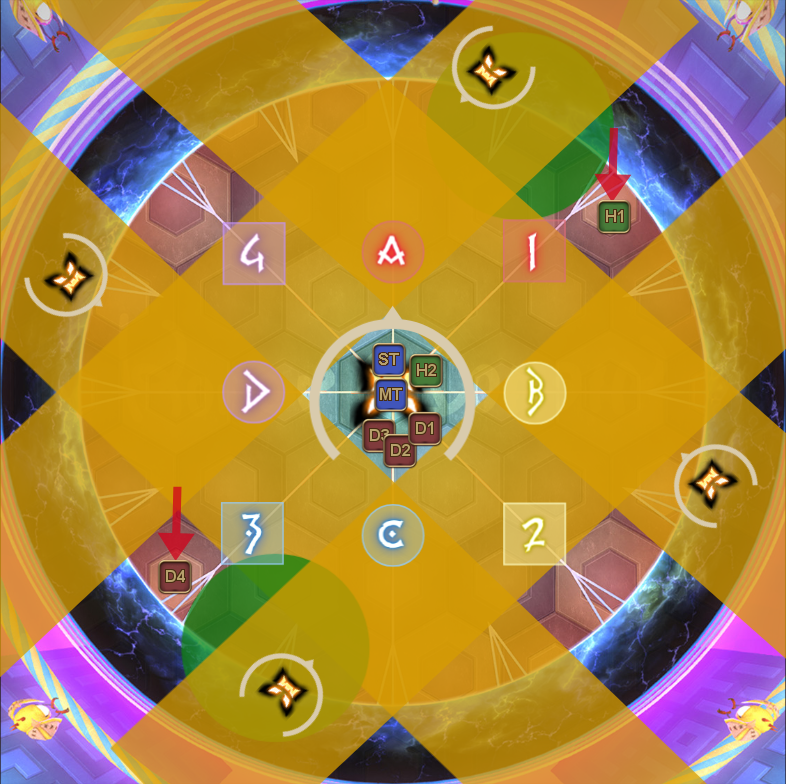 |
| After the last of puddles, the boss will cast Bee Sting, which will put a stack marker on one random support and one random DPS. To resolve this, have all supports stack north while the DPS stack south. The stack is quite big, so be careful that you don't accidentally get clipped by both stack markers. |  |
Once you're done dodging the bees, the boss will cast the usual tankbusters which could be either Stinging Slash or Killer Sting. This is followed up by either Tempting Twist or Honey Beeline, which executes the stored attack from the start of this phase. This memory check mechanic shouldn't be catching you off guard at this point, so resolve it as usual.